

by Diego Sanchez
September 14, 2017
Diego prevents carpal tunnel syndrome in designers worldwide by making incredible time-saving Photoshop actions and mock-ups.
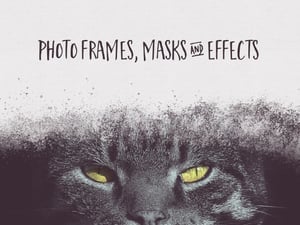

How to Create a Vignette in Photoshop
A classic and trendy effect
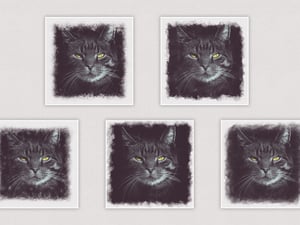
A vignette is simple effect that can spice up an image and it consists of having a clear center while the corners fade off. There are multiple ways to achieve this effect in Photoshop, some more complex and some more simple but that would not let you control the vignette effect, but here I will show you a simple one that allows you to better control the final result.
Creating the vignette effect is very simple and once you're familiar with the steps, it will take you just a few minutes from start to finish. For this tutorial I will be using Photoshop CS6 but any recent version of Photoshop will work as well.
Step 1
Open you image in Photoshop and select the Elliptical Marquee Tool (M)

Step 2
With the Elliptical Marquee Tool (M) selected, draw an oval selection over the center of your image as shown.

Step 3
With the selection active, go to Select > Modify > Feather. As I am using a small image size I will set the Feather Radius to 60px, but for larger images you can set the radius between 250px - 300px. Click Ok to apply.
Note: you may notice that there is almost no difference in the selection, but the feather was applied.

Step 4
As we have the center of our image selected, and to add a vignette we need to select the image corners, we need to invert the selection. Go to Select > Inverse.

Step 5
With the selection still active go to Layer > New Adjustment Layer > Curves. Set the name to Vignette and click OK.
Note: There will be no difference in the image, but if you look at the Layers Panel, in the “Vignette” Curves layer you may see that there is a layer mask applied with our selection.

Step 6
In the Curves Adjustments panel, click in the middle of the curve to add an adjustment point.

Step 7
Drag the new anchor point we just did to the bottom and right of the curve histogram until you are happy with your result. As a reference, the Input value could be between 150 – 170 and the Output value between 70 – 90, but you may need to change a bit these values according to your image.


Final Notes
If you wish to make the vignette darker or lighter, you just need to move the middle anchor point we did down and right (for a darker vignette) or up and left (for a lighter vignette).


Comments