

by Diego Sanchez
October 05, 2018
Diego prevents carpal tunnel syndrome in designers worldwide by making incredible time-saving Photoshop actions and mock-ups.

How to Create a Gorgeous, On-Trend Poster Mockup
Photoshop Mockups
A good presentation, whether it's for a client or for a personal project, is super important — the first impression is the one that counts. Most of the time, as a designer, you only have to show the designs and layouts but not the final product; that's why it's a good idea to have a mockup to show off all your hard work. Plus it helps clients understand your vision better (and decreases surprises come printing time). There are so many free & premium mockups available on the web, but making your own is easier than you think! Today I'll show you how to make a poster mockup with a simple process that you can later use to make business cards, flyers, brochures or any other printing material you might need.
Before we start, and if you want to follow this tutorial exactly as described, please download the following free assets: Picture and Paper Texture
Step 1
Open the picture in Photoshop.

Step 2
Using the Lasso (L), the Magnetic Lasso (L) or the Quick Selection Tool (L) select the fingers holding the poster as shown. In this case, as it is a simple selection I will use the Magnetic Lasso Tool (L).

Step 3
Go to Edit > Copy and then to Edit > Paste. Rename the new created layer to ‘Fingers’.

Step 4
Turn off the Background layer and refine the fingers edges to eliminate all the unwanted areas using the eraser tool or a layer mask. In this case, as the borders are good enough I will simply erase those small yellow jagged lines with a soft brush using the Eraser Tool (E).

Step 5
Click on the Background layer to select it and select the Rectangle Tool (U). Be sure to have the mode set to ‘Shape’ in the top toolbar.

Step 6
Draw a rectangle that covers the entire poster as shown.

Step 7
With the rectangle layer selected, go to Layer > Smart Objects > Convert to Smart Object. Rename the layer to ‘Poster’.

Step 8
Go to Edit > Transform > Warp.

Step 9
Using the available anchor points, edit the shape to follow the real poster shape and hit the Enter key on your keyboard once you finish to commit the changes.

Step 10
Go to Layer > Layer Style > Gradient Overlay. Click on the arrow of the gradient thumbnail and select the default ‘Black, White’ gradient.

Step 11
In the Gradient Overlay panel, apply the following settings and click OK.

Step 12
Go to Layer > New > Layer. Name this layer as ‘Shadows’ and click OK.

Step 13
With a soft black brush, paint the shadow areas of the fingers.
Quick Tip: you can easily make this hiding the ‘Poster’ layer and painting in the ‘Shadows’ layer following the original shadow areas of the picture.

Step 14
Go to Filter > Blur > Gaussian Blur. Set the desired amount of blur for the shadows and click OK. Due the image size, in this case a 24 px value will work just fine.

Step 15
In the Layers Panel, set the blend mode to Linear Burn and bring down the Opacity to 35%.

Step 16
With the Shadows layer selected, go to Layer > Create Clipping Mask.

Step 17
Double click over the thumbnail of the ‘Poster’ layer to edit the Smart Object.

Step 18
In the new document window, design or place the poster artwork.

Step 19
With the artwork already placed, go to File > Place. Locate the folded paper texture file and click on Place.

Step 20
Adjust the folded paper texture to cover the entire document and hit the Enter key on your keyboard to commit the transformation.

Step 21
Set the blend mode of the folded paper texture layer to Hard Light.

Step 22
In the Smart Object document window, go to File > Save and then to File > Close. You should now have the poster artwork in the original image.

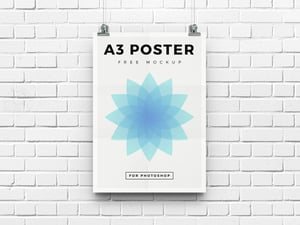
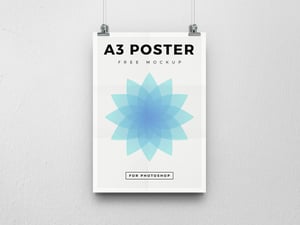
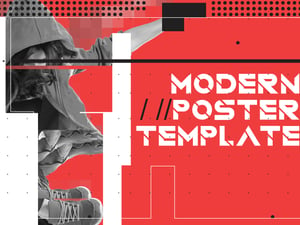
Conclusion
Here are some examples of different designs using the Poster Mockup we just did. Following the same steps, you can make a mockup for your business cards, book covers or any other printing material you can think of and present your designs in a more realistic way even before they are printed.


Comments