

by Diego Sanchez
September 09, 2019
Diego prevents carpal tunnel syndrome in designers worldwide by making incredible time-saving Photoshop actions and mock-ups.

How to Add Your Design to a Rusty Metal Texture
Working with Textures in Photoshop
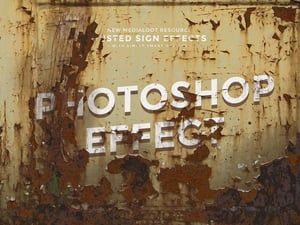
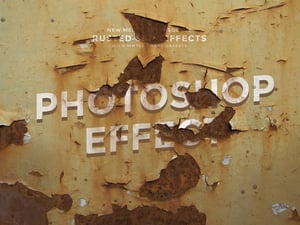
Often, designers like to show their work in a creative way rather than simply placing the design over a flat solid background. Textures are a great resource to make a design stand out from the rest, and today you'll learn how to place it over a rusty metal texture. Using nothing more than a simple texture and a few Photoshop tools and adjustments, it's easy to make your own rusty metal sign.
But before we begin, and if you want to follow this tutorial exactly as described, please download the following rust textures right here from Medialoot: Download
Step 1
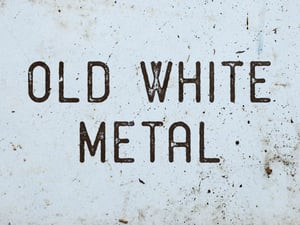
Open the rust texture in Photoshop. In this case, I will be using the “rust-textures-6.jpg” that you can find on the Grungy Rust Textures pack.

Step 2
Go to Image > Place. Locate the logo/badge you want to add the rusty texture to in your computer and click OK. If needed, adjust the logo size and hit the Enter key on your keyboard to commit the changes.

Step 3
Hide the logo/badge layer by clicking on the eye icon next to the layer’s name.

Step 4
Select the texture layer and go to the Channels Panel. If you do not have the Channels Panel visible, go to Window > Channels.

Step 5
Select the Blue channel (or the most contrasting one depending on your rust texture) and duplicate the channel by dragging it to the “Create New Channel” icon at the bottom of the channels panel.

Step 6
Go to Image > Adjustments > Levels. Drag the Shadow and Highlight Input sliders inwards a bit to darken a bit more the dark areas and lighten even more the light areas.

Step 7
Hold the Ctrl key on your keyboard and click on the channel layer thumbnail to make a selection.

Step 8
With the selection active, click on the RGB channel.

Step 9
In the Layers Panel, Select the logo/badge layer and make it visible again by clicking on the eye icon next to the layer’s name.

Step 10
With your logo/badge layer selected, click on the Add Layer Mask icon.

Step 11
If you want to change the color of your logo/badge, go to Layer > New Fill Layer > Solid Color. Name this layer as “Coloring”, be sure to check the “Use Previous Layer to Create Clipping Mask” and click OK.

Step 12
Pick any color you like in the Color Picker Window and click OK.

Conclusion
As you saw, placing your own design on a rusty metal texture is easy if you know which tools to use. Now that you know how to make it in a easy way you can try with different rust textures and designs to keep your users attention while they browse your works.


Comments