
by Diego Sanchez
July 31, 2019
Diego prevents carpal tunnel syndrome in designers worldwide by making incredible time-saving Photoshop actions and mock-ups.

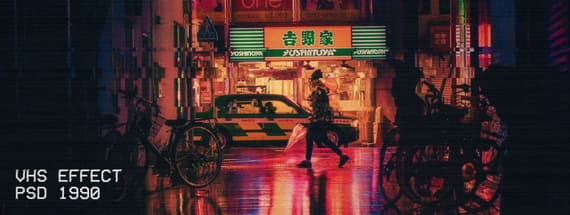
Get a VHS Effect in Photoshop for a Classic 90's Feel
VHS PHOTOSHOP EFFECT
Just like some of the low quality old photos, there is something special about the imperfections of VHS tapes. Replicating the style of all those glitches in Photoshop is easier than you think. As you might guess, there are lots of different ways to achieve a VHS effect in Photoshop; some are very complex and detailed while others are a bit simpler but effective as well. Today, I'll show you how you can achieve a realistic VHS Effect in Photoshop that mimics a 90’s feel using a very simple texture and a few native Photoshop effects.
But before we start, and if you want to follow the tutorial as described, please download the following free assets:
Step 1
Open the main image in Photoshop.

Step 2
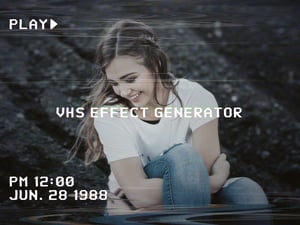
Select the Horizontal Type Tool (T) and add some text to emulate the time and date of the recording. In this case, I am using the font called “VCR OSD Mono”.
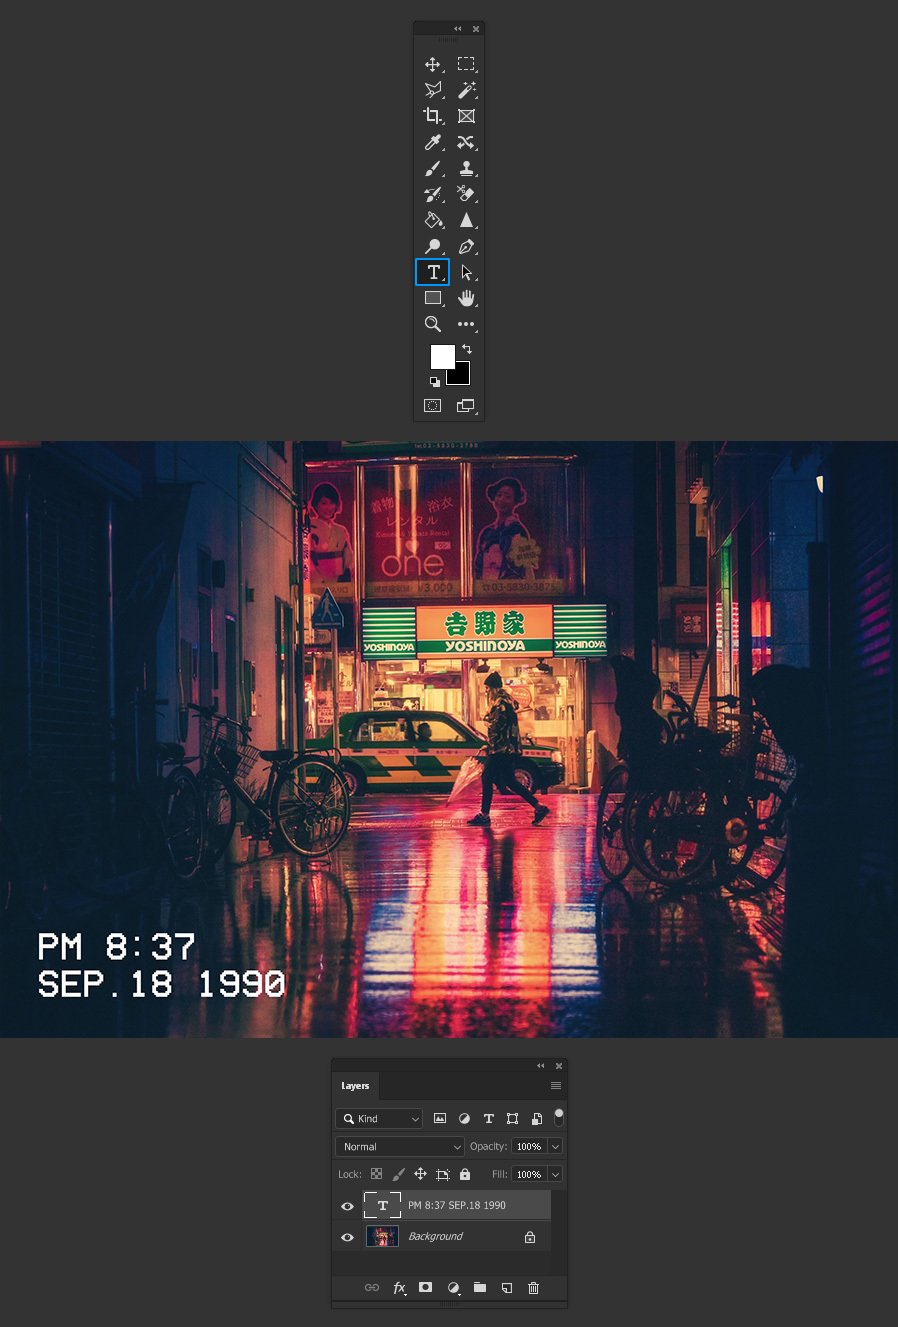
Step 3
Go to Layer > Merge Down.

Step 4
Select the Rectangular Marquee Tool (M) and draw a selection as shown.
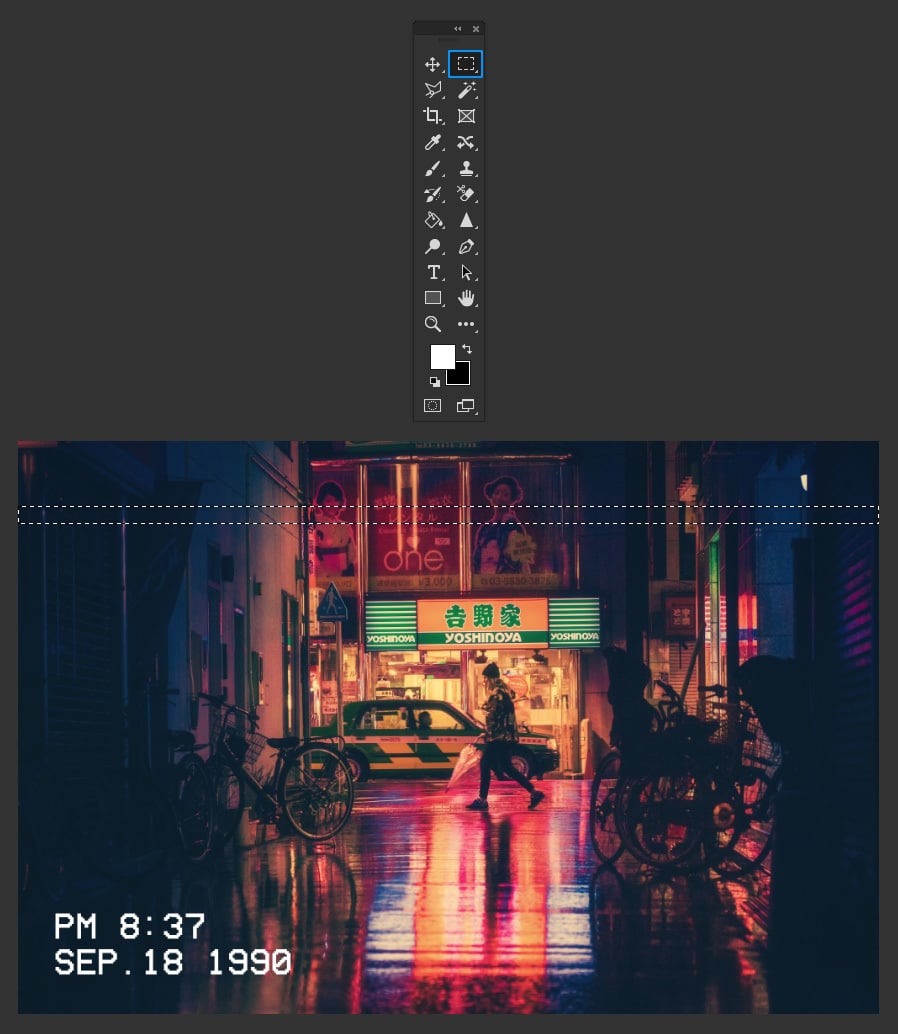
Step 5
Whit the Rectangular Marquee Tool (M) still selected and with the selection active, hold the Shift key on your keyboard and add a few more rectangular selections as shown.

Step 6
Go to Filter > Distort > Shear. Add 2 more anchor points to the grid as shown, be sure to check “Repeat Edge Pixels” and click OK.

Step 7
With the selection still active, go to Edit > Copy and then to Edit > Paste Special > Paste in Place. Rename this new layer to “Glitch”.

Step 8
With the “Glitch” layer selected go to Filter > Distort > Wave. Apply the following settings and click OK.

Step 9
Go to File > Place. Locate the glitch screen texture file on your computer and click Place.

Step 10
Resize the texture to cover the whole canvas and hit the Enter key on your keyboard to commit the changes.

Step 11
Set the Blend Mode of this layer to “Divide” and reduce the Opacity to 3%.

Step 12
Go to Layer > New > Layer. Name this layer as “Scan Lines”, set the Mode to “Color Burn”, the Opacity to 10% and click OK.

Step 13
Go to Edit > Fill. Apply the following settings and click OK.

Step 14
With the “Scan Lines” layer active, go to Filter > Filter Gallery. Under “Sketch” select the “Halftone Pattern”, apply the following settings and click OK.

Step 15
Now that the basic effect was made, we can start adding all the details that we want. Go to Layer > New Adjustment Layer > Curves. Name this layer as “Curves” and click OK.

Step 16
In the Curves Properties Panel, Select the Red channel from the dropdown menu, add a new anchor point to the curve, set the Input Value to 120 and the Output Value to 130.

Step 17
Now select the Green Channel, add a new anchor point, set the Input Value to 130 and the Output Value to 120.

Step 18
Now select the Blue Channel, add 2 new anchor points. Set the Input Value of the first point to 70 and the Output Value to 60. Now set the Input Value of the second point to 185 and the Output Value to 195.

Step 19
Go to Layer > New Fill Layer > Gradient. Name this layer as “Vignette”, apply the following settings and click OK.

Step 20
In the Gradient Fill window, select the “Black, White” fill from the dropdown menu, apply the following settings and click OK.

Step 21
Go to Layer > New > Layer. Name this layer as “Grain”, apply the following settings and click OK.

Step 22
Go to Filter > Noise > Add Noise. Apply the following settings and click OK.

Step 23
To finish up the VHS effect go to Select > All, then to Edit > Copy Merged and finally to Edit > Paste Special > Paste in Place. Rename this layer to “Channel”.

Step 24
Set the blend mode of the “Channel” layer to “Hue” and bring down the Opacity to 60%.

Step 25
Finally, press the “V” key on your keyboard to select the Move Tool and using the arrow keys of your keyboard, move the layer 5 px to the right.


Comments