

by Diego Sanchez
December 05, 2018
Diego prevents carpal tunnel syndrome in designers worldwide by making incredible time-saving Photoshop actions and mock-ups.


Create an Editable White T-Shirt Mockup
Mock up your t-shirt designs in a realistic way
Mockups are a great way to show the world your designs in a realistic way even if they aren't printed/made yet. With a mockup, your design will stand out from the rest while giving your client or audience a taste of how it will look once it's actually produced. Today, you will learn how to make a white t-shirt mockup that you can use an unlimited number of times to show your designs in a more realistic way.
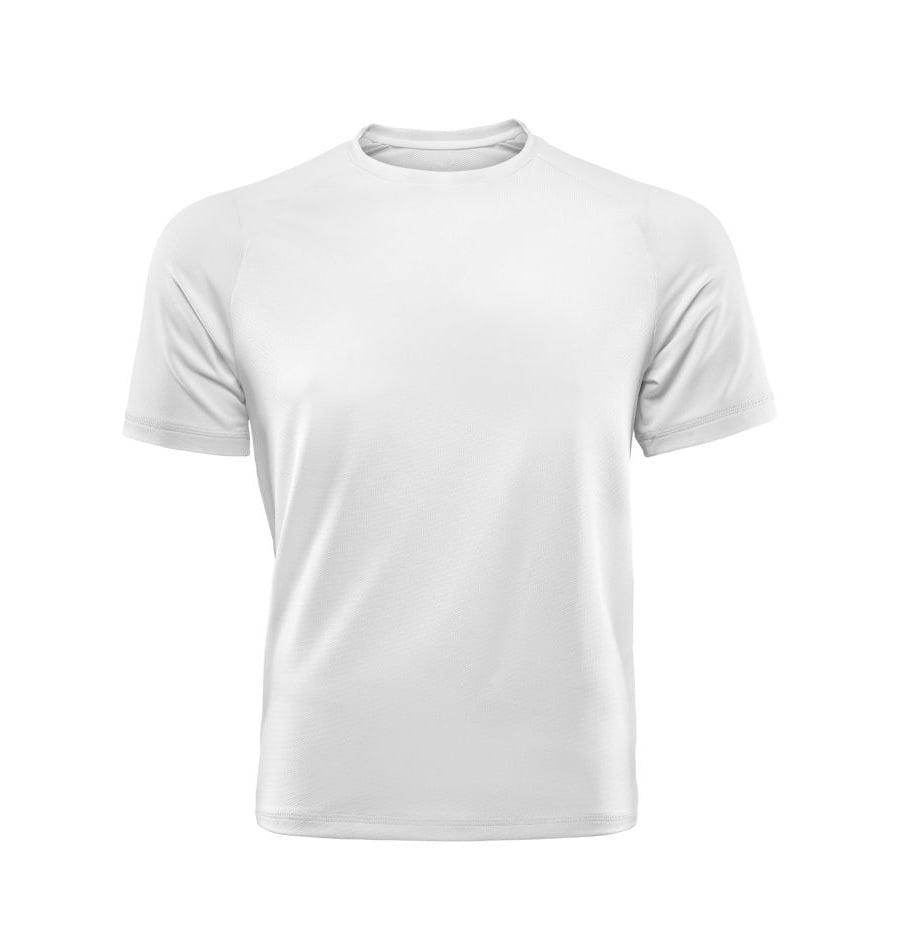
The method I will show you here can be used over any white t-shirt with or without a person modeling it, but if you want to follow this tutorial exactly as described, please download the following image from iStock: Download
Step 1
Open the t-shirt picture in Photoshop.
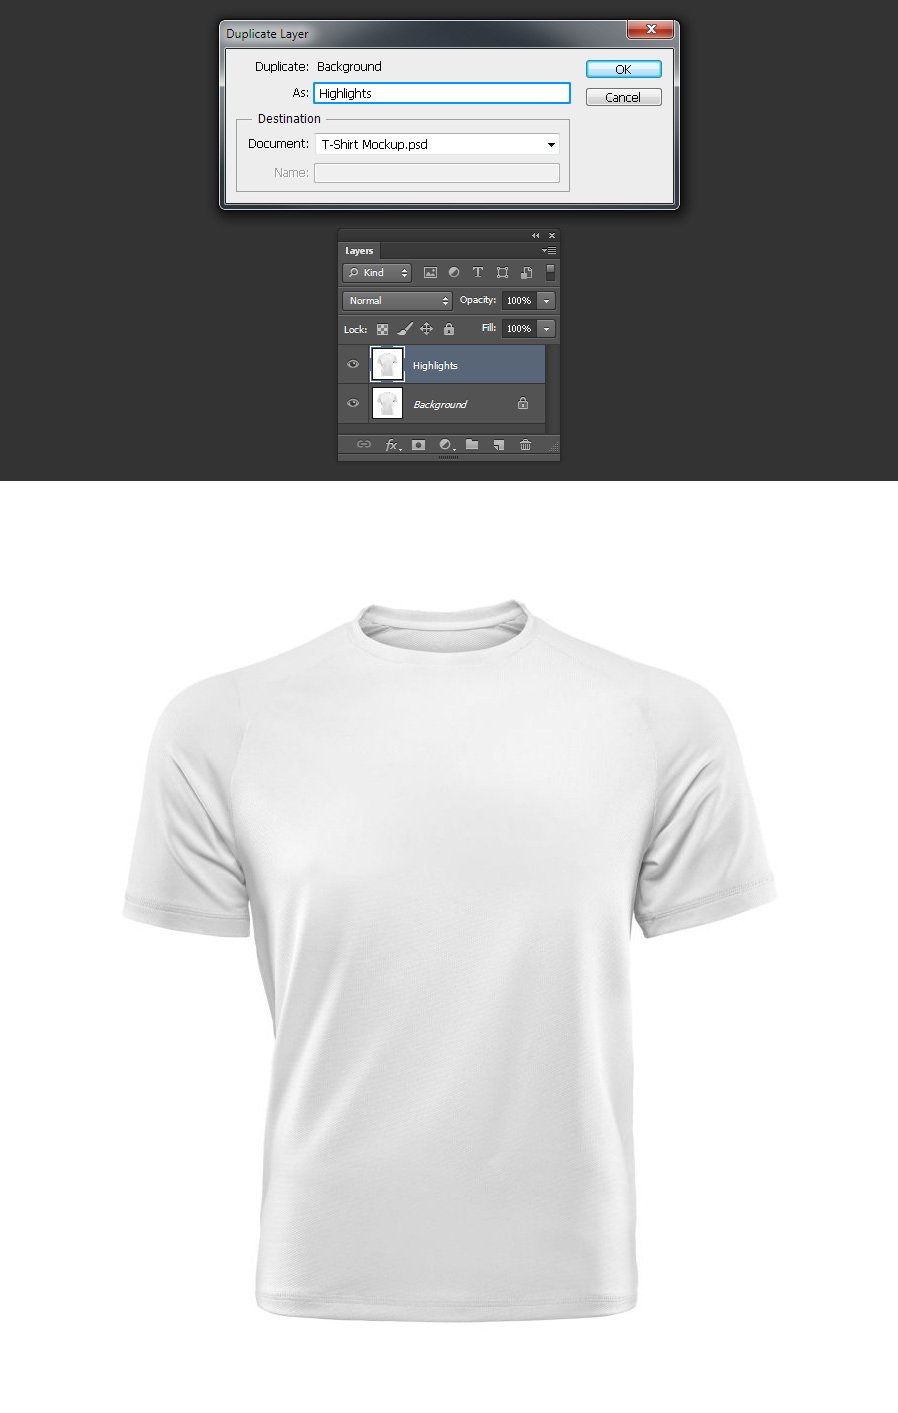
Step 2
Go to Layer > Duplicate Layer. Name this layer as “Highlights” and click OK.
Step 3
Go to Image > Adjustments > Desaturate.

Step 4
With the “Highlights” layer active, go to Image > Adjustments > Levels. In the levels window increase the shadows and highlights to set as much contrast as possible without losing too many details.

Step 5
Go to Select > All and then go to Edit > Copy.

Step 6
Go to File > New, set the filename to “Displacement Map” and click OK.

Step 7
In the new file, go to Edit > Paste Special > Paste in Place. Save the file as “Displacement Map.psd” anywhere on your computer. Remember where you save it and close the file.

Step 8
Back in the original t-shirt file, go to Select > Deselect.

Step 9
With the “Highlights” layer selected, go to Layer > Duplicate layer. Name this layer as “Shadows” and click OK.

Step 10
Hide the “Shadows” and the “Highlights” layers by clicking on the eye icon next to each layer’s name.

Step 11
Select the Background layer in the Layers Panel and using your preferred method, draw a selection around the t-shirt area.

Step 12
With the selection active go to Edit > Copy and then to Edit > Paste Special > Paste in Place. Rename this layer to “T-Shirt Base”.

Step 13
Again, select the Background layer in the Layers Panel and go to Layer > New Fill layer > Solid Color. Set the name of this layer to “Background Color” and click OK.

Step 14
In the Color Picker window set the color to #ceb991 and click OK.

Step 15
Select the “T-shirt Base” layer and go to Layer > Duplicate. Name this layer as “My Design” and click OK.

Step 16
Go to Layer > Smart Objects > Convert to Smart Object.

Step 17
Select and make the “Highlights” layer visible. Set the blend mode to Screen, bring down the Opacity to 15% and go to Layer > Create Clipping Mask.

Step 18
Select and make the “Shadows” layer visible. Set the blend mode to Multiply and go to Layer > Create Clipping Mask.

Step 19
Double click on the “My Design” layer’s thumbnail.

Step 20
In the new window, rename the “T-Shirt Base” layer to “Reference”.

Step 21
Draw or paste your t-shirt design and set it in the position you want it.

Step 22
Hide the “Reference” layer by clicking on the eye icon next to the layer’s name. Press Ctrl+S on your keyboard to save the document and close it.

Step 23
Back in the original file, be sure to have the “My Design” layer selected. Hold the Ctrl key on your keyboard and click on the “T-Shirt Base” layer thumbnail.

Step 24
Click on the “Add layer mask” icon in the bottom of the Layers Panel.

Step 25
With the “My Design” layer selected go to Filter > Distort > Displace. Set the Horizontal and Vertical scale to 2. Be sure to have the Stretch to Fit and Repeat Edge Pixels selected and click OK.
Note: depending on your image size, you may need to increase these values a bit.

Step 26
Locate the “Displacement Map.psd” file we saved before and click OPEN.

Step 27
Finally, select the “T-Shirt Base” layer and go to Layer > Layer Style > Drop Shadow. Apply the following settings and click OK.
Note: depending on your image size, you may need to increase or decrease these values a bit.

Some Final Notes
As we have set our design as a Smart Object you can easily update your t-shirt design. Simply double click on the “My Design” layer thumbnail, paste your design in the new document, save it and close it (remember to turn off the t-shirt reference picture layer).


Comments