
by Diego Sanchez
June 27, 2018
Diego prevents carpal tunnel syndrome in designers worldwide by making incredible time-saving Photoshop actions and mock-ups.
Create an Awesome Photoshop Pointillism Effect
Painting in Photoshop
Pointillism relies in the ability of the viewer to step back and let their eyes blend tiny color spots into a full tone range. A painting technique developed in the late 1880s famous for its difficult detailing, it's now a simple task to recreate the effect with photoshop.
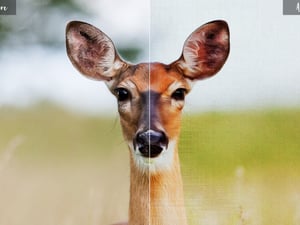
Today, I will show you how easily you can create a pointillism effect in Photoshop by using a similar color palette of a real painting in the image you want to apply this effect. To do this, you will need 2 images: one of the picture you want to apply the effect to, and another one of a real painting to match the colors.
For this tutorial, I will be using 2 different images. If you want to follow this tutorial exactly as described, please download these 2 images:
Step 1
Open the Monet painting image in Photoshop.

Step 2
Open the image you want to apply the pointillism effect in Photoshop.

Step 3
Press ‘D’ on your keyboard to reset the Foreground and Background colors.

Step 4
In the document that contains your image, go to Image > Adjustments > Match Color. Set the Luminance and Color Intensity to 100, from ‘Source’ choose the painting file we opened earlier and click OK.

Step 5
Go to Layer > Duplicate Layer. Name this layer as ‘Paint Daubs’ and click OK.

Step 6
With the ‘Paint Daubs’ layer active, again go to Layer > Duplicate Layer. This time name this layer as ‘Pointillize’ and click OK.

Step 7
With the ‘Pointillize’ layer selected, go to Filter > Pixelate > Pointillize. Set the Cell Size to 3 and click OK. Note: You may change the cell size depending on your image size.

Step 8
Decrease the ‘Pointillize’ layer Opacity to 55%.

Step 9
Select the ‘Paint Daubs’ layer and go to Filter > Filter Gallery. Under ‘Artistic’, select the ‘Paint Daubs’ effect, apply the following settings and click OK.

Step 10
Select the ‘Pointillize’ layer and go to Layer > New Adjutment Layer > Levels. Set the name to ‘Levels’ and click OK.

Step 11
In the Levels Properties panel, adjust the Shadow and Highlight Input Levels to your liking. In this case, I will set the Shadow Input Level to 70, and the Highlight Input Levels to 225 to have more contrast and make the colors a bit more vivid.


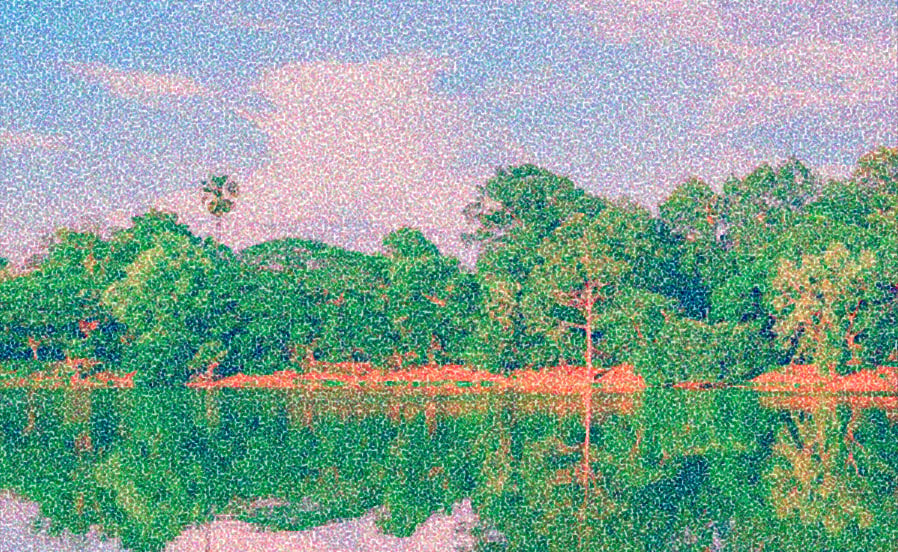
Final Notes
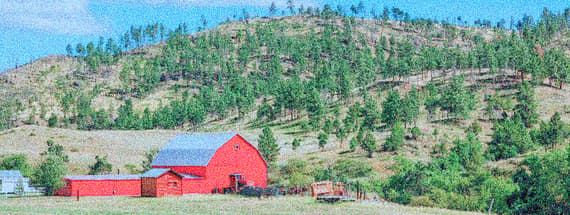
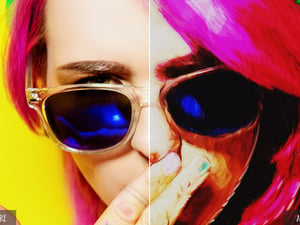
As you may see, the pointillism effect is rather simple to make in Photoshop, and just by changing a bit the values we used, you can create many variations and use them according to the image size you are working on. Here are some examples of the effect applied on other images using the same procedure of this tutorial.


Comments