

by Jenn Coyle
July 22, 2014
You can find Jenn doodling and blogging, drinking beer, or running around Philly.

Create a Polygon Portrait Poster Design in 3 Easy Steps
Polygon portraits can look incredibly detailed and complex, but can be created with relative ease. Below I've outlines some simple steps to create a polygon illustration. You can follow along and create your own portrait or custom design. Let's see how it's done.
Step 1 - Trace Your Photo
Start with a good photo that has nice contrast. Shadows and highlights make it easy to see where to place your shapes. In this step you can either trace the photo in Adobe Illustrator, or in Photoshop using the Pen Tool. I've chose to draw my shapes using Illustrator. Below is the photo from I'll be tracing from the amazing work of Joel Bedford. You can download this photo here. With the Pen Tool (either in AI or PS) begin drawing shapes around the highlights and shadows. There is no hard rule here on what to trace. Obviously, the more shapes you draw the more complex the final design will be. Experiment here, to get the desired look. This task may seem daunting at first, but it should only take you 10-20 minutes to complete.
 You can see below, as I begin to fill out the portrait with more shapes, the design starts to take shape.
 Below I've labeled some of the shadows and highlights so that you can see what my methodology is. Basically the shadow areas will be darker when filled with color and the highlights will be a lighter color.
 Here's a look at all of the shapes I've added. Now we're ready to start coloring them.

Step 2 - Coloring the Polygon Shapes
Again, there is no rule here on coloring the shapes. My method is to select the shape and use the Eyedropper Tool and select a color from the photo that falls within the polygon shape that I'm coloring. Repeat the process until all of the shapes are colored. You can delete the reference photo at this stage.

Step 3 - Creating a Poster with the Polygon Portrait
Now create a new document in Photoshop. The dimensions can be whatever you prefer. My poster is 8.5x11 at 300 dpi. Fill the background with gray (#777f80). If you're in Illustrator, like I am, you'll need to select all of the shapes, and copy them over to your newly created PS document. If you're shapes are already in Photoshop, you can group them together and drag that layer group over to the new doc. Size and position the polygon portrait similar to what I have below. Make a selection around the edge of the document.
 Invert the selection (Cmd+Shift+I) and create a new layer, then fill it with white to create a border around the poster.
 Now create a new layer and set it's blend mode to "Overlay". Move this layer below the polygon portrait. Use a large soft white brush to create a highlight behind the portrait.
 On a new layer above the portrait let's create another highlight, over the hair, using the same layer blend mode and soft white brush. Switch the brush to black, create a new layer, and paint a shadow area at the bottom of the poster. Set this layer's blend mode to "Overlay" as well. You might need to reduce this shadow layer's opacity to around 30%.
 Now, let's add some texture and a little bit of text to the design.
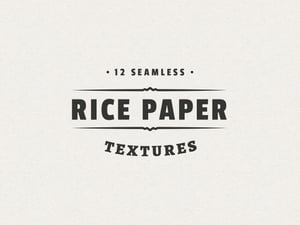
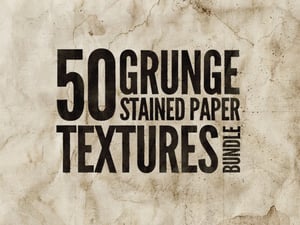
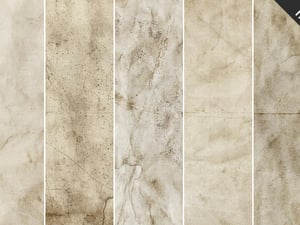
I chose a texture from the Antique Paper Textures Set
Drag the texture to a new layer above all other layers in our design. Set this layer's blend mode to "Multiply", and reduce the opacity to around 75%. You'll need to scale the texture down as close to the document size as possible.
Now, let's add some texture and a little bit of text to the design.
I chose a texture from the Antique Paper Textures Set
Drag the texture to a new layer above all other layers in our design. Set this layer's blend mode to "Multiply", and reduce the opacity to around 75%. You'll need to scale the texture down as close to the document size as possible.
 For the title, I chose these fonts:
I used white for the font colors and placed them below the texture layer and portrait layers.
For the title, I chose these fonts:
I used white for the font colors and placed them below the texture layer and portrait layers.

Conclusion
I hope this tutorial inspires you to give polygon portraits a try. The end results always has a complex and very interesting look.Be sure to share your thoughts and results in the comments field below.


Comments